Tips, Tricks and pics on how to remodel your home. 5 Straight forward steps broken down on how to remodel your homes individual spaces.

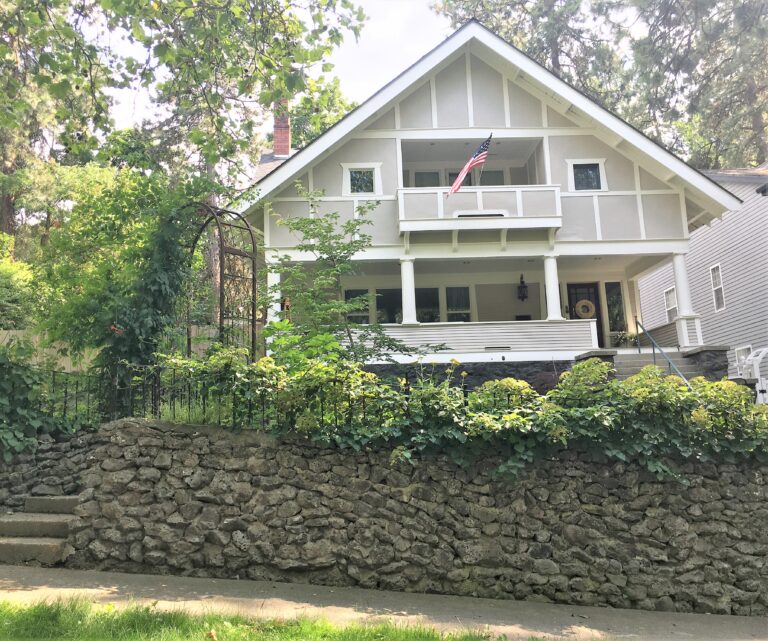
Isn’t she beautiful and classicly charming…???? I promise you she was an absolute train wreak when we first bought this house!!!
What was supposed to be a “Quick Fixer Upper,” extended into a 10+ year extensive Renovation. This home has taught us where to pick and choose our battles, Invest wisely and pat ourselves on the back for a job well done. One of many projects that we have renovated but by far the most extensive. I will share the many things we have learned… What we have continually done on other projects and those things that we could pass on in the future. I realize some of these projects are not for beginners but I hope that what ever skill set you are at or have available to you, that you have at the very least, inspiration to make your home “Taylor Made.”
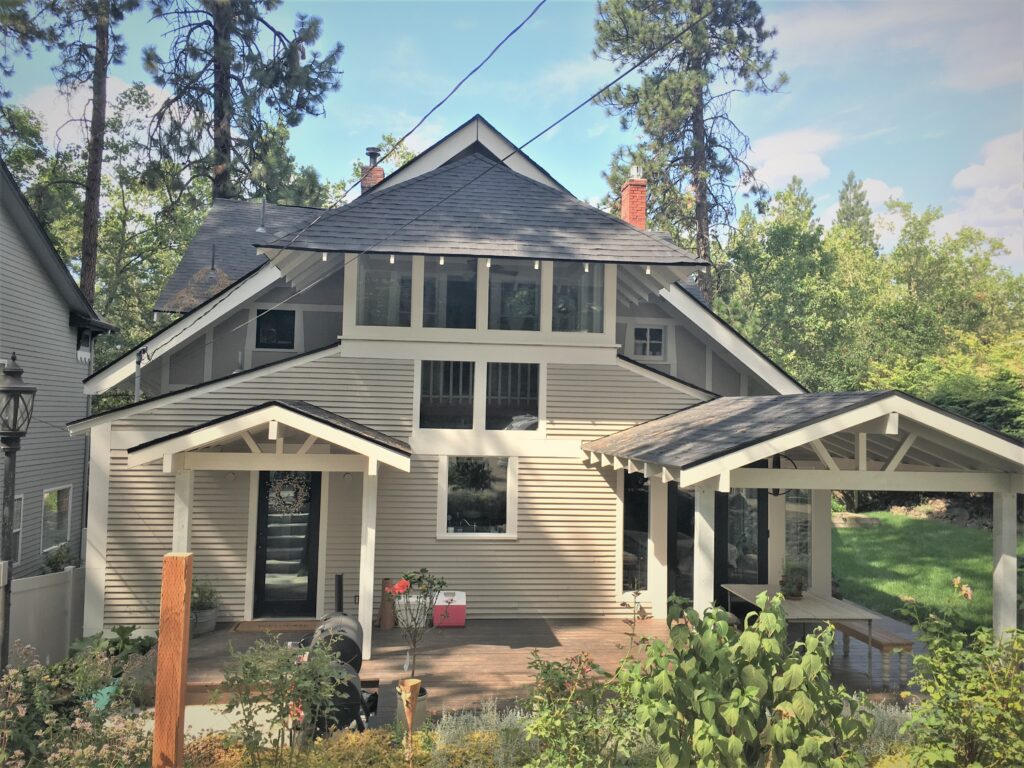
Some of our friends and family questioned our sanity when we first bought this house due to the horrid condition it was in. Covered in pure filth, mouse poo, hoarder piles, cigarette butts & other paraphernalia, and trash like I have never seen before. This house was rotting away and badly kept until we came along. Being a realtor, I have seen a lot- and to this day, I still think this house was the worst I have seen so far.
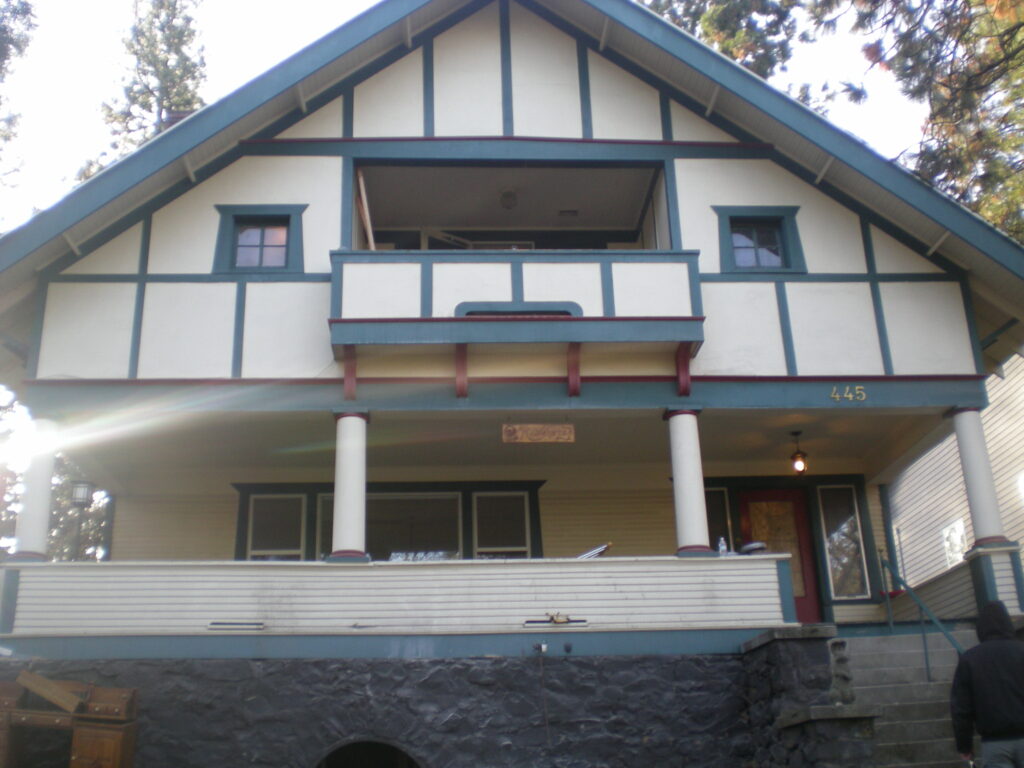
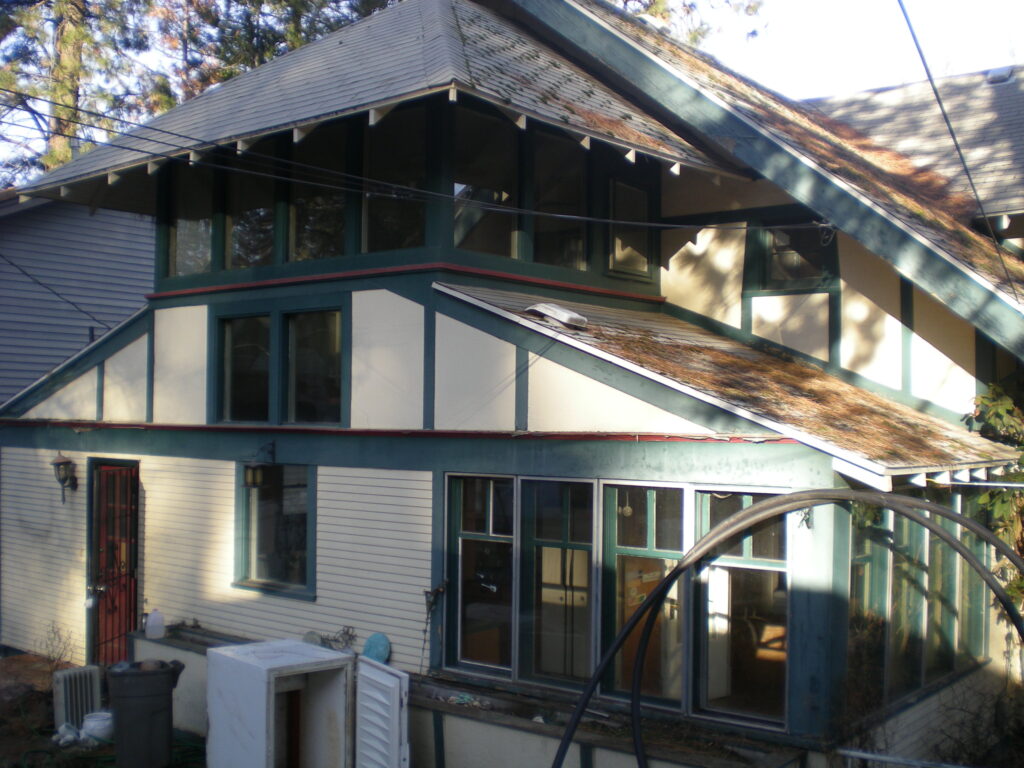
Luckily I could see right through it all but it definitely took an imagination. There was SO much trash and JUNK piled high in every room, that we had no idea there was a fireplace in the living room or huge walk in closets in the bedrooms. The outside of the house was just as bad. We had over $10,000 in jump expenses alone. That didn’t even count what I donated. The entire kitchen was packed up and given to Good Will. Clothes, furniture, nick nacks, books galore…. I boxed up family photos and memorabilia in the event I ever found the previous owners… It took a good few weeks to just clear the house out.
We suspect there was “other stuff” happening in the house… based off of the graffiti on the walls, the interesting folks that would randomly show up at the house (not knowing it had changed ownership) , the stories the neighbors told us and again all of the “stuff” we had removed from the house, but we were in it for the long haul. Longer than we ever expected!
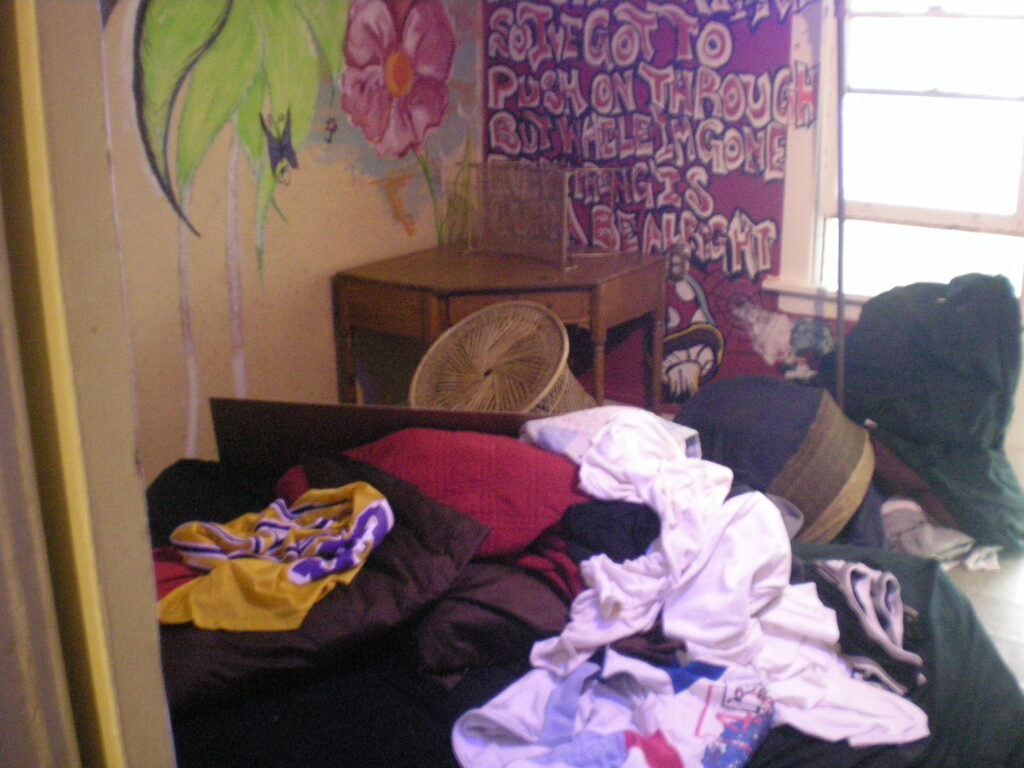
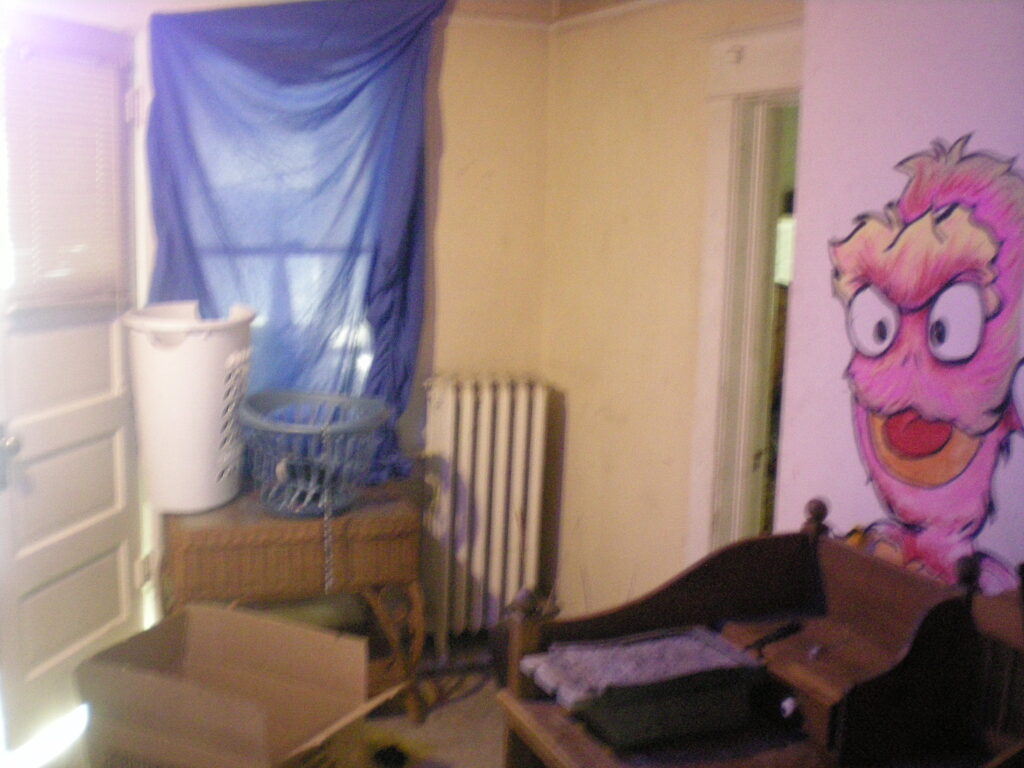
When you hear people say, ” You are looking for the worst house in the best neighborhood,” well, we hit that nail on the head! It was amazing to see this beautiful neighborhood and then this house that stuck out like no other than for the worst.
I have been blessed with being able to see through all of the distractions and to visualize in my brain the final product. I’ll never forget viewing the house before we bought it- slowly walking our way through the house, through all of the mess, to walk around the corner of the dining room in to the kitchen. To this day It was my selling point. I have always called the kitchen the “Light house.”
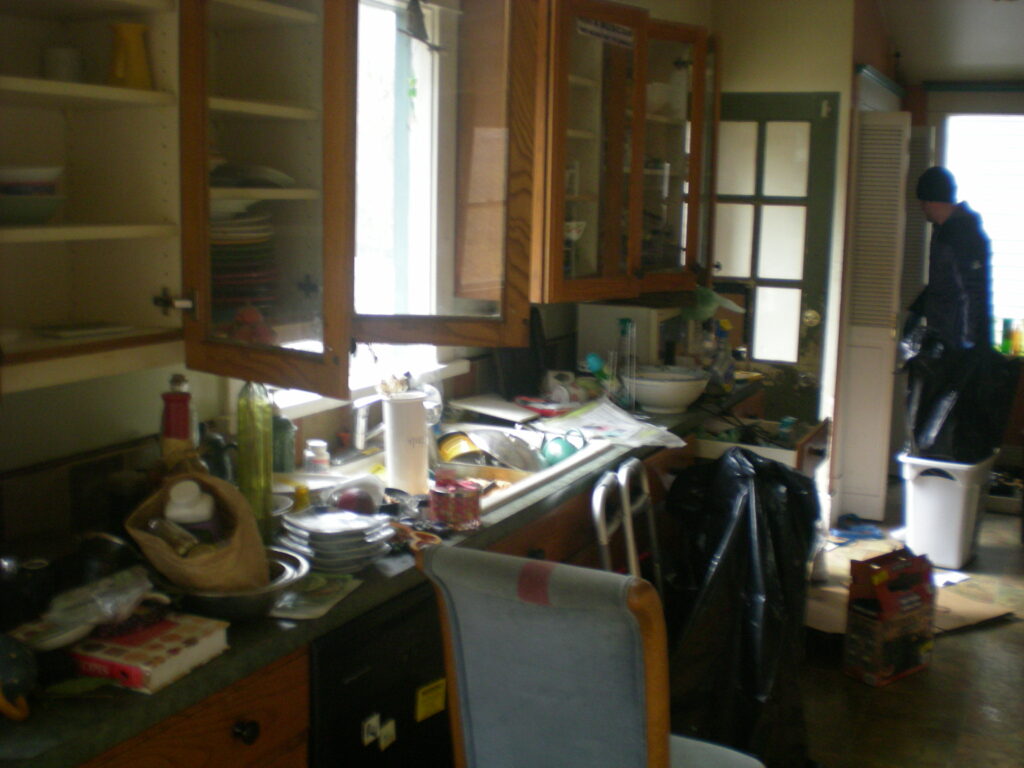
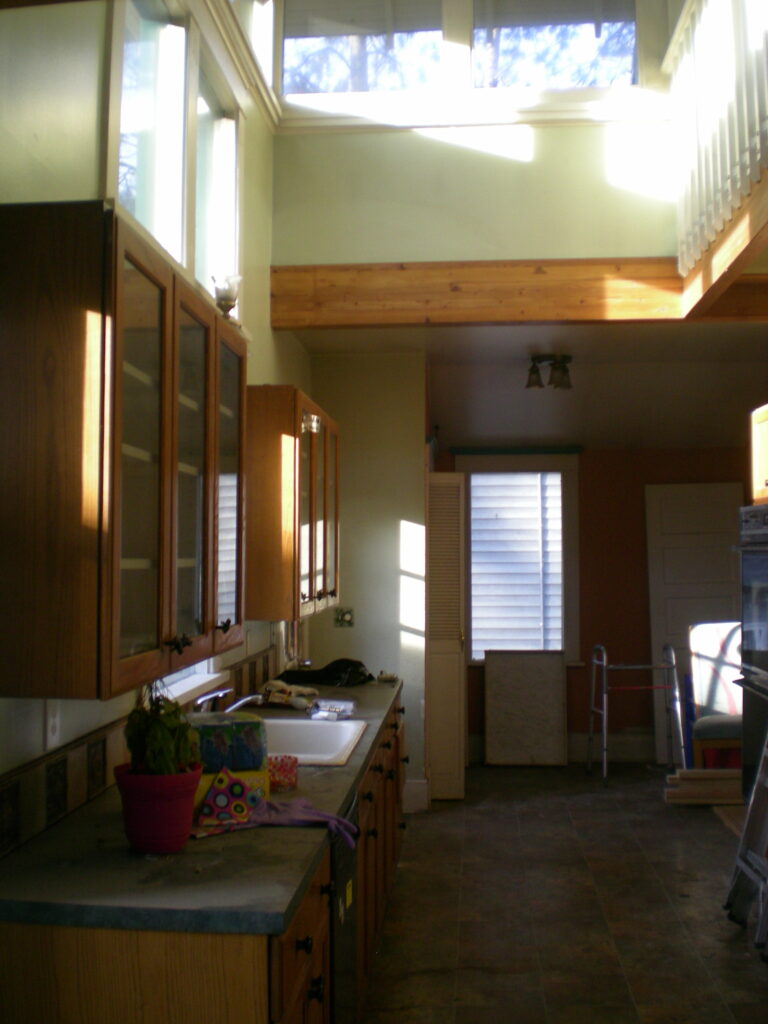
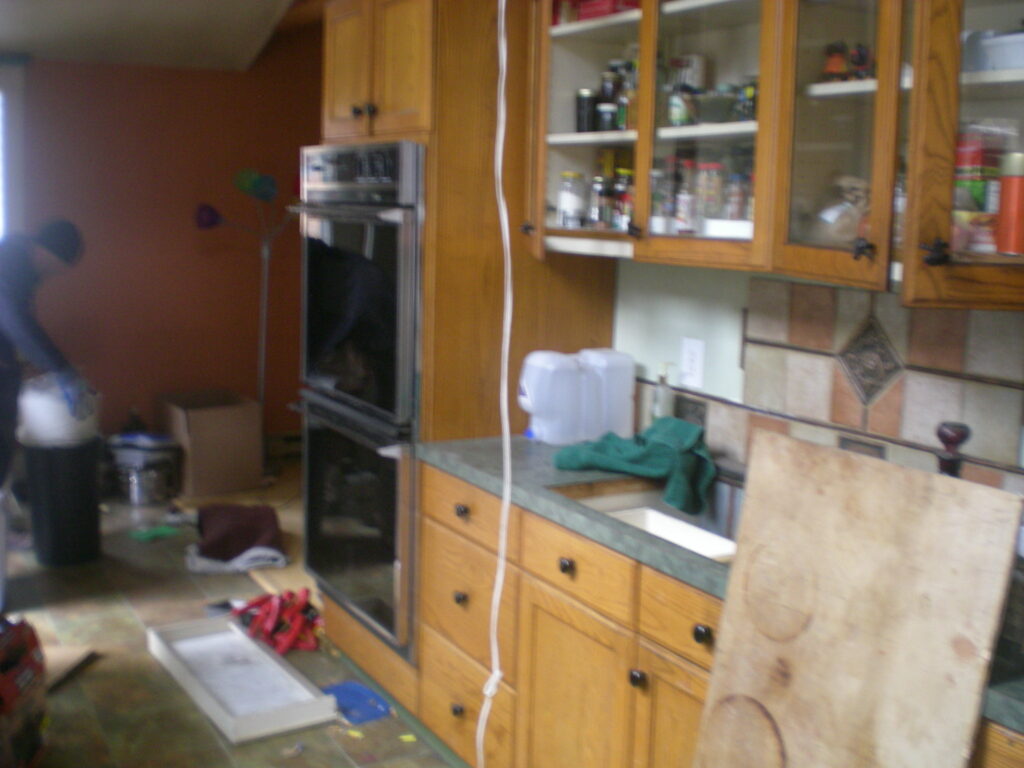
But in my mind this is what I saw…..
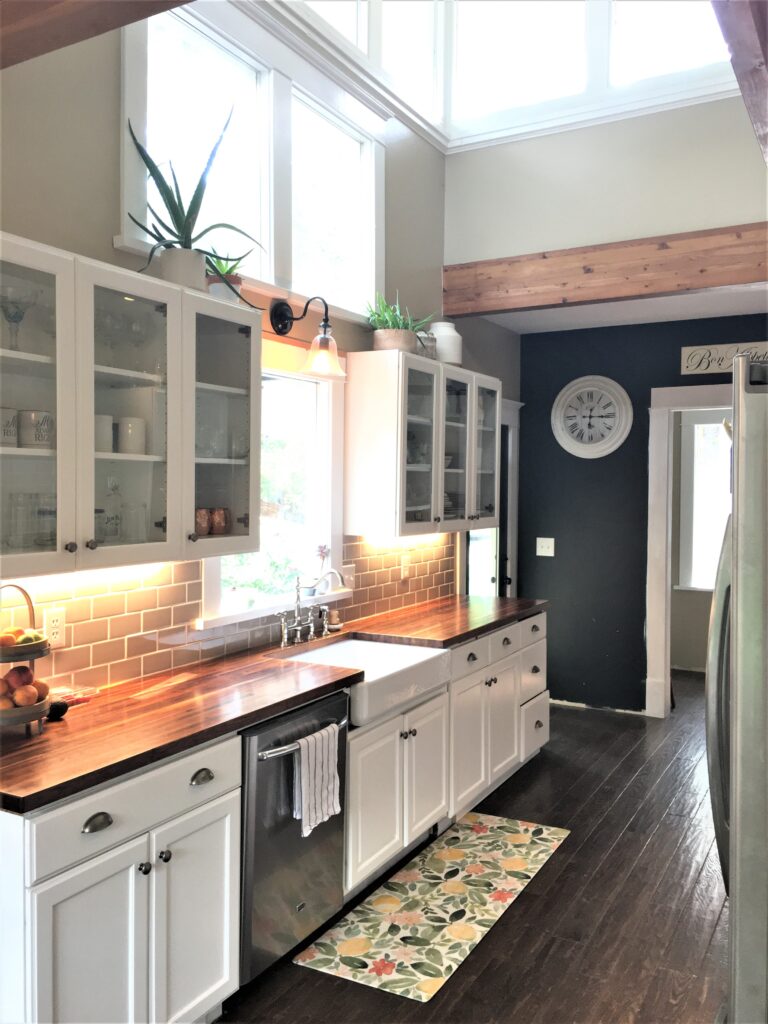
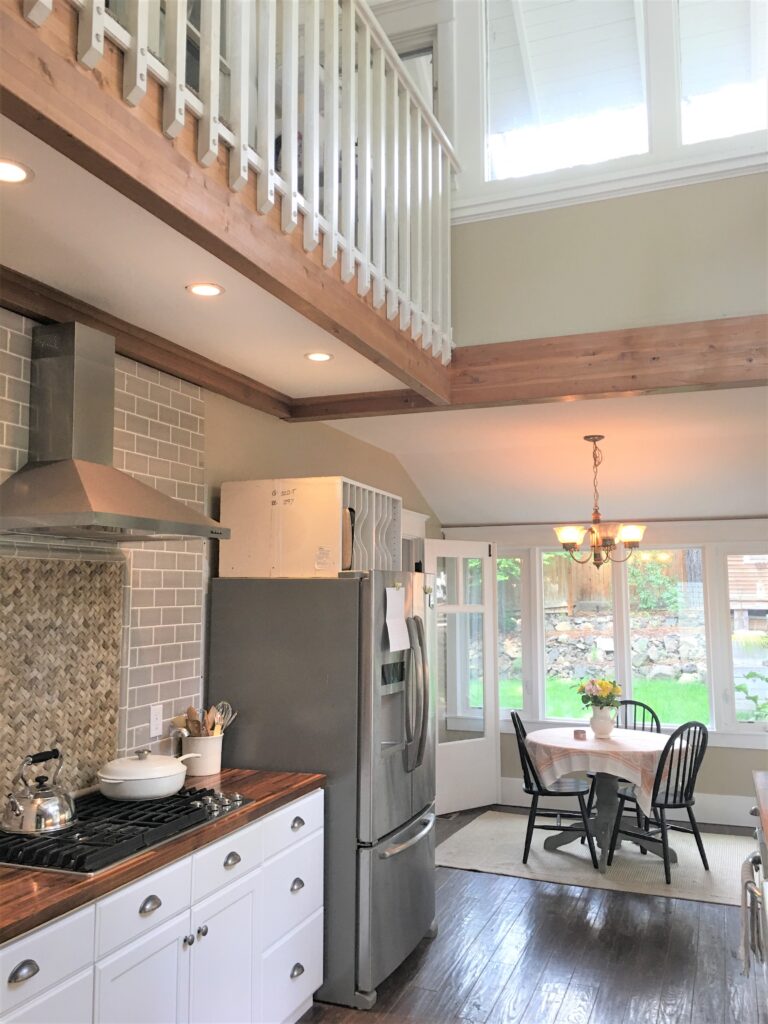
So let me break it down at this point. I have so many other rooms to share on this house remodel but lets start with these tips and on the kitchen remodel. With these Tips, you can apply them to other rooms in the house as a guild when planning or budgeting for the remodel.
TIP #1
Take Before Pictures.
Its amazing to see the vision come to life. To look back on old pictures in the midst of long drawn out times of remodeling, You forget what you started with. Always take pictures before you touch anything! There have been so many times I look back for certain areas to see what it looked like before, to realize we didn’t get any pictures of it. I completely get being ready to rip into whatever the project is but you’ll be so grateful when you can go back and compare the finished product to what you started with.
TIP #2
Remove trash, donate what you can, pack up what you don’t immediately need and clear your space.
We have never had a time where tools, materials, dust & debris didn’t accumulate in the space we are working in. I too should take my advice on this as we have always lived in our projects while working on them. Household items always seem to get misplaced and combined into the mix where they are just in the way.
TIP #3
Do what you can when and where you can.
Like I mentioned in the very beginning of this post, “what we thought would be a quick- fixer upper ended up being a 10+ year project.”
It’s great to show these before and after pictures but the honesty behind them is that it didn’t happen as easy as 1, 2, 3… We had a few different “visions” for this remodel in the very beginning. I initially thought that this house would be more of a Craftsmen Style home (as that is what we had previously come from) and started re staining the kitchen cabinets in a darker cherry wood color. It took me about a week to finish and absolutely did NOT like how they turned out. I immediately just primed and painted the cabinets white. Ultimately, setting the stage for what the “vision” for this house ended up with. Painting the cabinets was a big money saver. Cabinets can vary in prices dramatically so IF they are salvageable and you like the style of them, re painting or staining them is a great cost effective way to transform your kitchen or bathrooms, or any other space with cabinetry. New hardware is also a wide range of prices but although some prefer no hardware, I feel it’s the “cherry on the cake” that ties it all together.
So to wrap that tip up- Fresh paint or stain on the already existing cabinets is a great money saver for a quick transformation to a space.
TIP #4
Fresh paint on the walls & Trim.
Going with neutral colors is my preference. Not only do we do this as a forward thought for staging the homes when we are finished, but the spaces feel bigger and brighter too. Another thing with neutral walls is that you can interchangeably swap your decor for different seasonal vibes or if/when you get tired of the decorations you have and want to change the look of the room, without a big remodel.
TIP #5
Big ticket items.
The bulk of the budget always goes into floors, tile, countertops, appliances and fixtures- like sink faucets. Again, not always needed but they do make an impact for the over all remodel “finished product.” These items typically have additional labor that goes into them for installation, so doing these items when and where you can, if it’s not possible to do all at once, does make a big impact in the long run.
** CLEAN**
I guess we could make this a 6th TIP but seems obvious. A deep clean when all your hard work is complete, is that last and continuous “to-do” to show off all of your efforts.
PIN FOR LATER

I know there can be so many variations when a remodel is involved- especially in older homes. I have so much more to share and piggy back off of this post. Follow along for more individual room “Taylor Made” renovations. I will also be sharing more Home and Garden Inspiration, Design and Organization.
Thank you for stopping by! Any tips, tricks or questions you have off hand to share?
Leave me a comment below .

Beautiful Renovation!!